

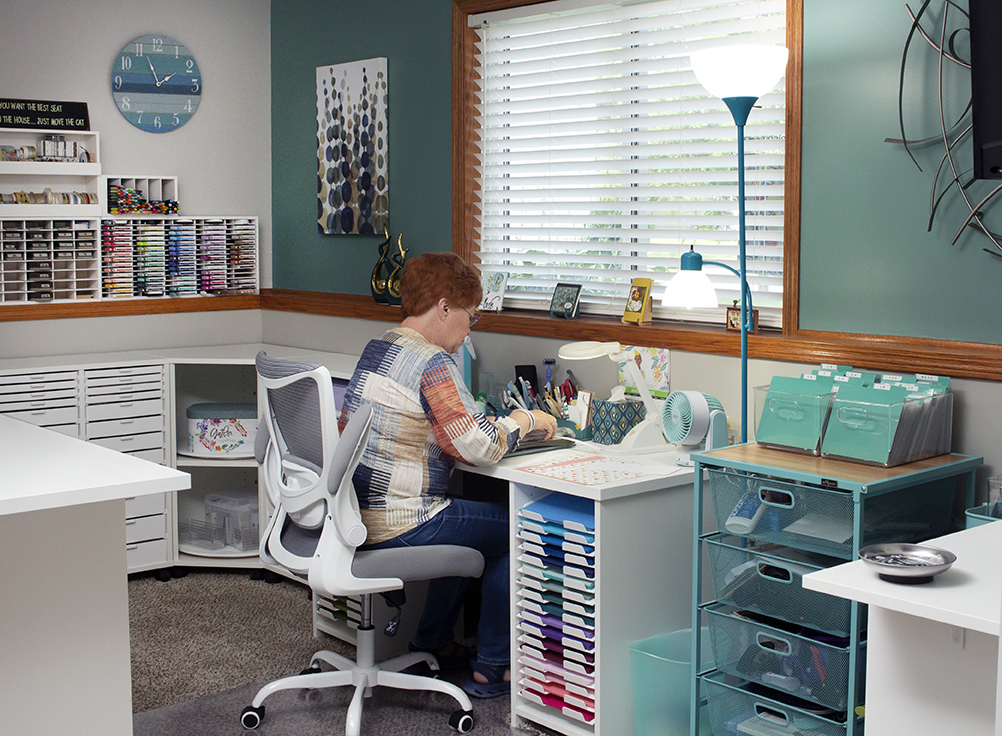
When Sue first decided to organize her craft room, she felt overwhelmed. Her love of crafting had slowly become buried beneath piles of supplies, unfinished projects, and too many “just in case” purchases. Instead of feeling inspired, Sue often found herself stuck, frustrated, and unsure of where to begin.
Sound familiar? You’re not alone. Sue’s journey is proof that change is possible, and that an organized craft space doesn’t just look nice, it transforms the way you create.
Let’s review five crucial lessons we learned from following Sue’s journey in our Craft Room Rehab series. If you haven't watched the series, be sure to check it out before reading further.
Lesson 1: It’s Okay to Ask for Help
The first step Sue took was also one of the bravest—she asked for help. It can feel vulnerable to open your creative space to someone else, but it’s also freeing. Having another perspective brings encouragement, accountability, and fresh energy.
You don’t have to do it alone. Even inviting a friend or family member to sit with you while you sort supplies can help you get unstuck. The most important thing? Just start. Once Sue took that step, momentum carried her forward.
Lesson 2: Purging Is Key
Sue quickly discovered that decluttering wasn’t about losing creativity—it was about finding it again.
By letting go of duplicate supplies, projects she no longer enjoyed, and materials that no longer served her, Sue created room for inspiration to flow. She even found joy in donating supplies, knowing they’d bless another crafter.
Clutter equals chaos, not creativity. Purging may feel hard at first, but it’s the foundation of every organized craft room.
Lesson 3: Take Inventory
With the clutter cleared, Sue could finally see what she had left. That’s when she began grouping supplies into categories—paper, embellishments, stamps, tools—and taking stock of her inventory.
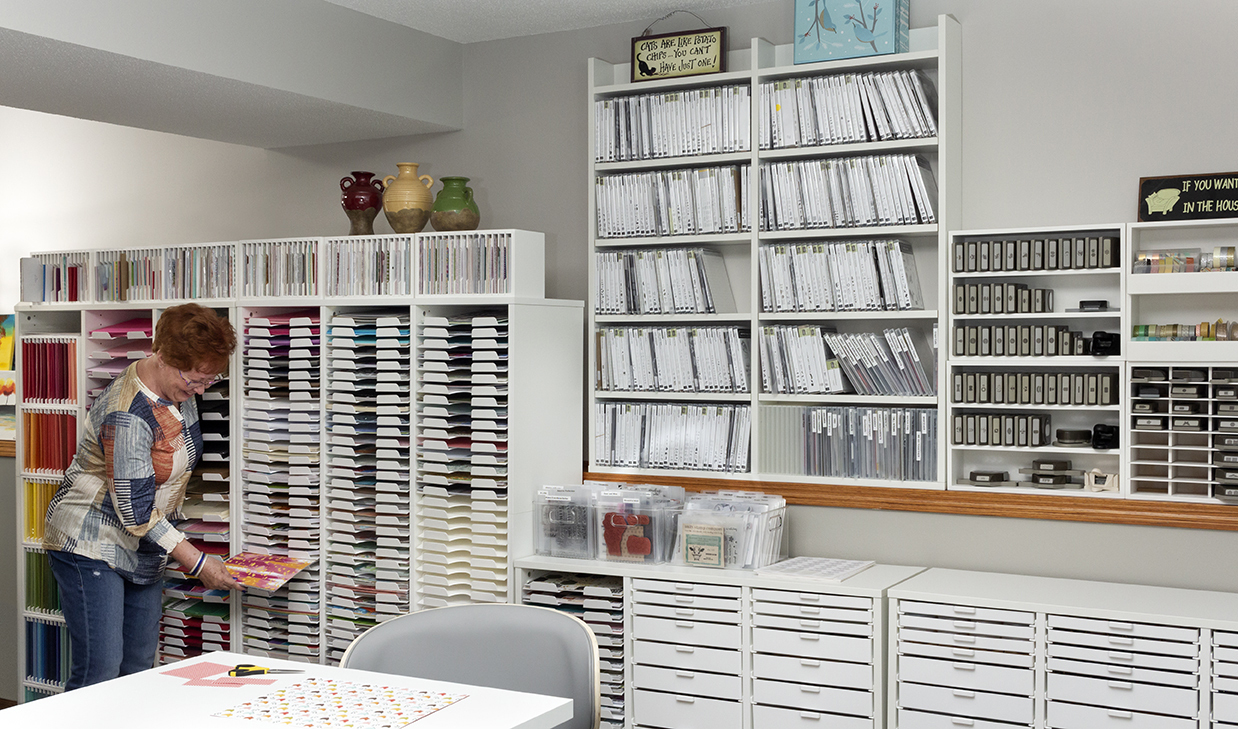
This step is so important. When you know what you have, you stop buying duplicates, and you can plan storage solutions that actually fit your needs. Seasonal groupings, brand categories, or even project-based drawers can all make your inventory easier to navigate.
Need a place to start? Try using our Craft Inventory Chart to track what’s in your stash.
Lesson 4: Plan, Plan, Plan
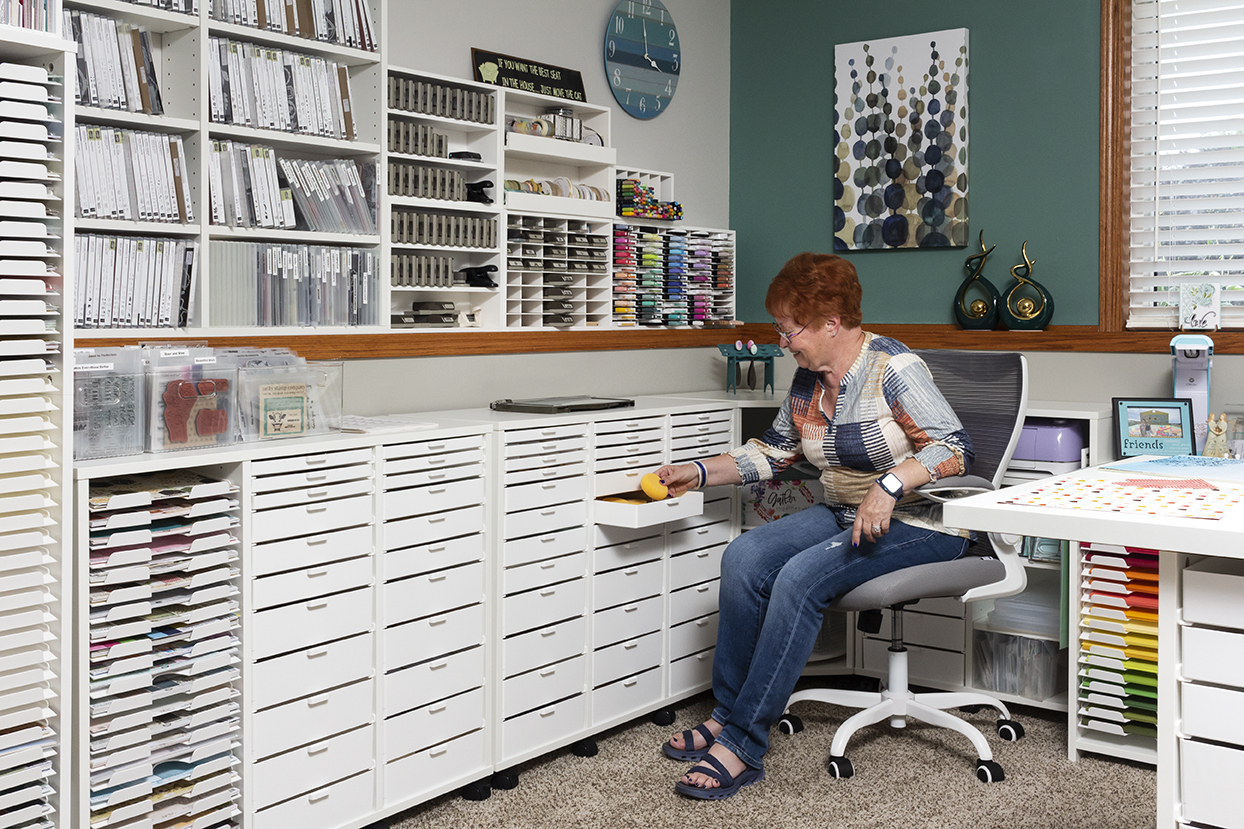
Once her supplies were under control, Sue turned her attention to the room itself. She took the time to measure, tape out her floor, and visualize where her furniture and storage should go. That planning paid off.
Mapping out your space ensures every supply has a logical home that fits your workflow. Whether you use sketches, sticky notes, or our free Layout Planner, taking time to plan means you’ll create a space that works with you. When planning your space, consider your typical crafting process, and design your space to match your creative flow.
Lesson 5: Patience Pays Off
Sue’s craft room transformation didn’t happen overnight, and that’s okay.
True transformation comes in small, steady steps. Take breaks when you need them, tackle one drawer or shelf at a time, and keep your eyes on your end goal. The effort you put in now will boost your creativity for years to come.
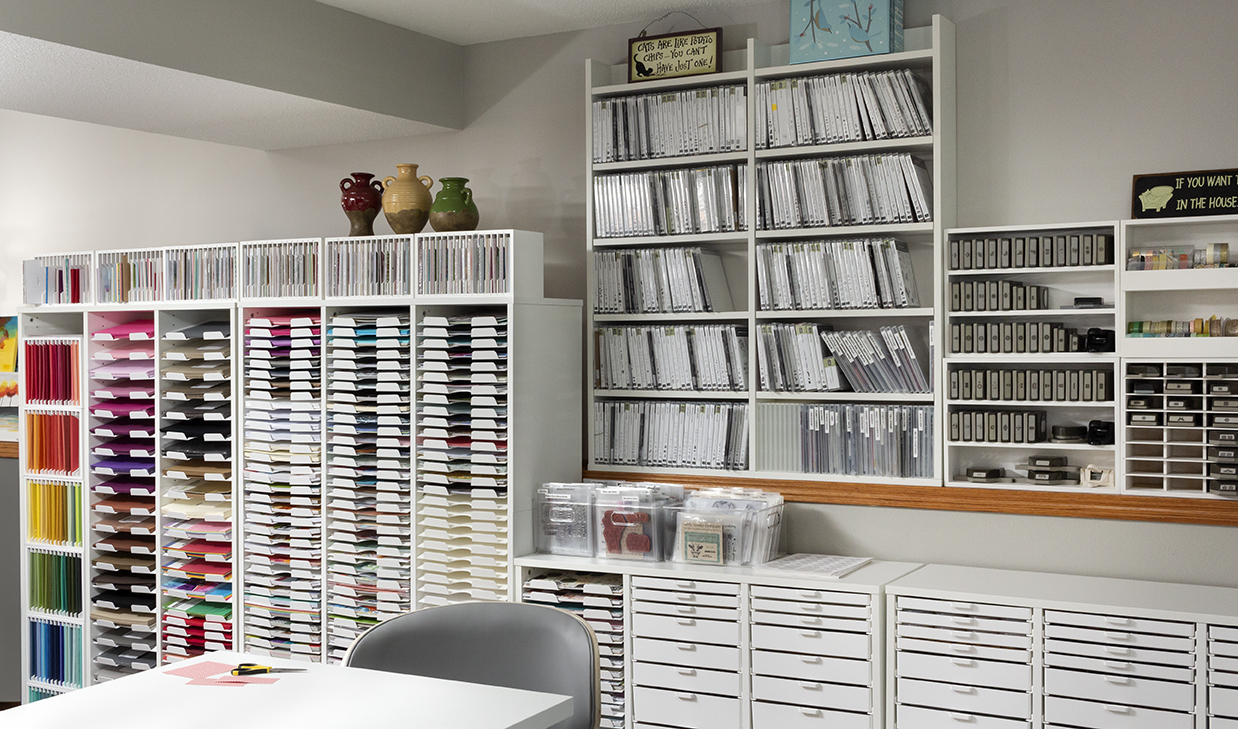
Your Craft Room, Reimagined
Sue’s story proves that change is possible, and it can become your reality too. With tools like our Layout Planner, Craft Inventory Chart, and helpful resources on our Craft Room Rehab page, you can take the first step toward your dream space today.
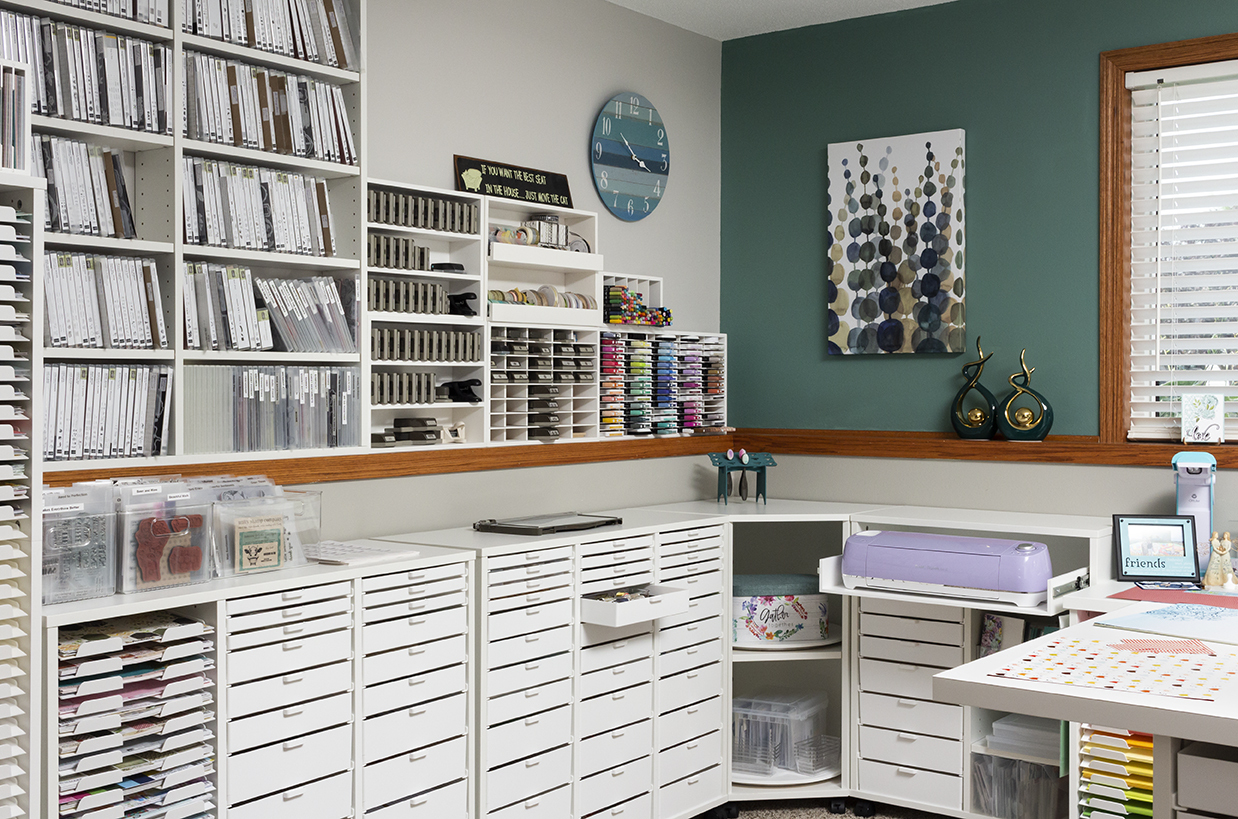
Explore Best Craft Organizer solutions to find the furniture and inserts that will bring calm, joy, and creativity back into your craft room. The journey starts with one step—are you ready?