
How to Organize Your Wafer Dies
Organization is personal and a constantly changing journey. What worked a year ago might not work now due to new creative projects, additional supplies, and, let's face it...lots and lots of new stamps and dies. Die organization can be complicated to master. What works for your best crafty partner might not work for you. That's why BEST Craft Organizer is here to help, offering 5 different storage solutions for storing and organizing your wafer dies.
1. Magnet Cards & Storage Pockets
Ideal for small to large die collections.
What you'll need:
Step 1: Store your dies on a strong and sturdy Magnet Card. Stamp-n-Storage Magnet Cards are made from a strong magnet material that keeps your dies in place. In addition, the sturdy poster board backing prevents the Magnet Card from being floppy, which prevents dies from popping off and getting misplaced. Although 5x7 and 6x7 Magnet Cards fit inside the Storage Pockets (more below), we recommend the 6x7 Magnet Cards to maximize your space.
Organize your dies by die set, theme, or manufacturer.
Step 2: Label your dies with a Storage Pocket. Slide your 6x7 Magnet Card into a Storage Pocket featuring tabs for easy labeling. Most die sets fit on one 6x7 Magnet Card. However, for large sets, you can group them together by putting two Magnet Cards in one Storage Pocket. You can even store stamp (clear or cling mount) and die sets together using the back of the Magnet Card* or a separate Stamp Card.
Organize your Storage Pockets in alphabetical order or by theme. We prefer to organize first by manufacturer and then by alphabetically (die or stamp set name).
*Clear and cling mount stamps adhere to Magnet Cards purchased in 2021 or later. Backing material on Magnet Cards prior to 2021 is not compatible with stamp storage.
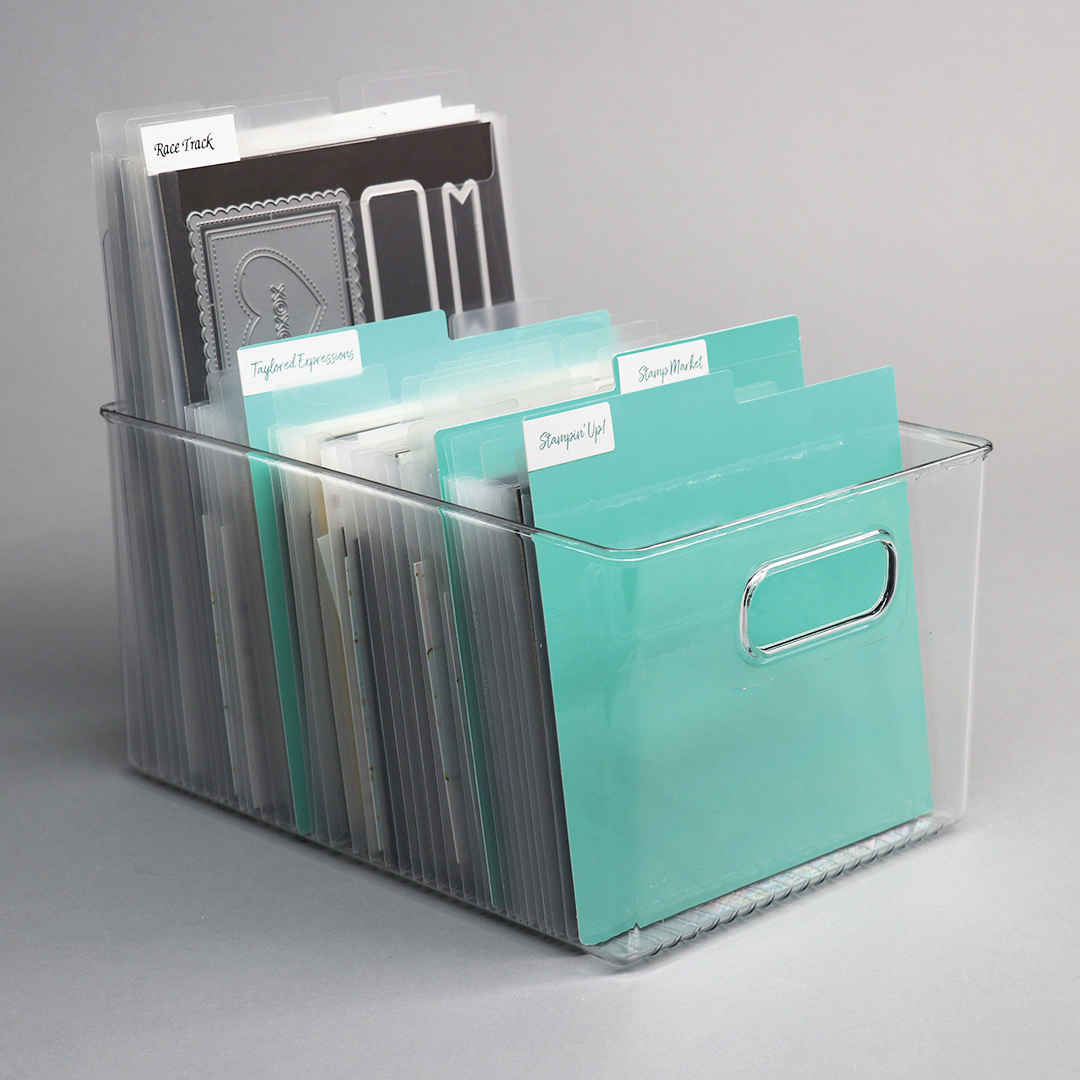
Step 3: Place your Storage Pockets and Magnet Cards in a bin or Acrylic Crate.
2. Hole-Punched Magnet Cards
Ideal for Slimline Die collections.
What you'll need:
- 8.5x11 Magnet Cards
- 3-Ring Binder
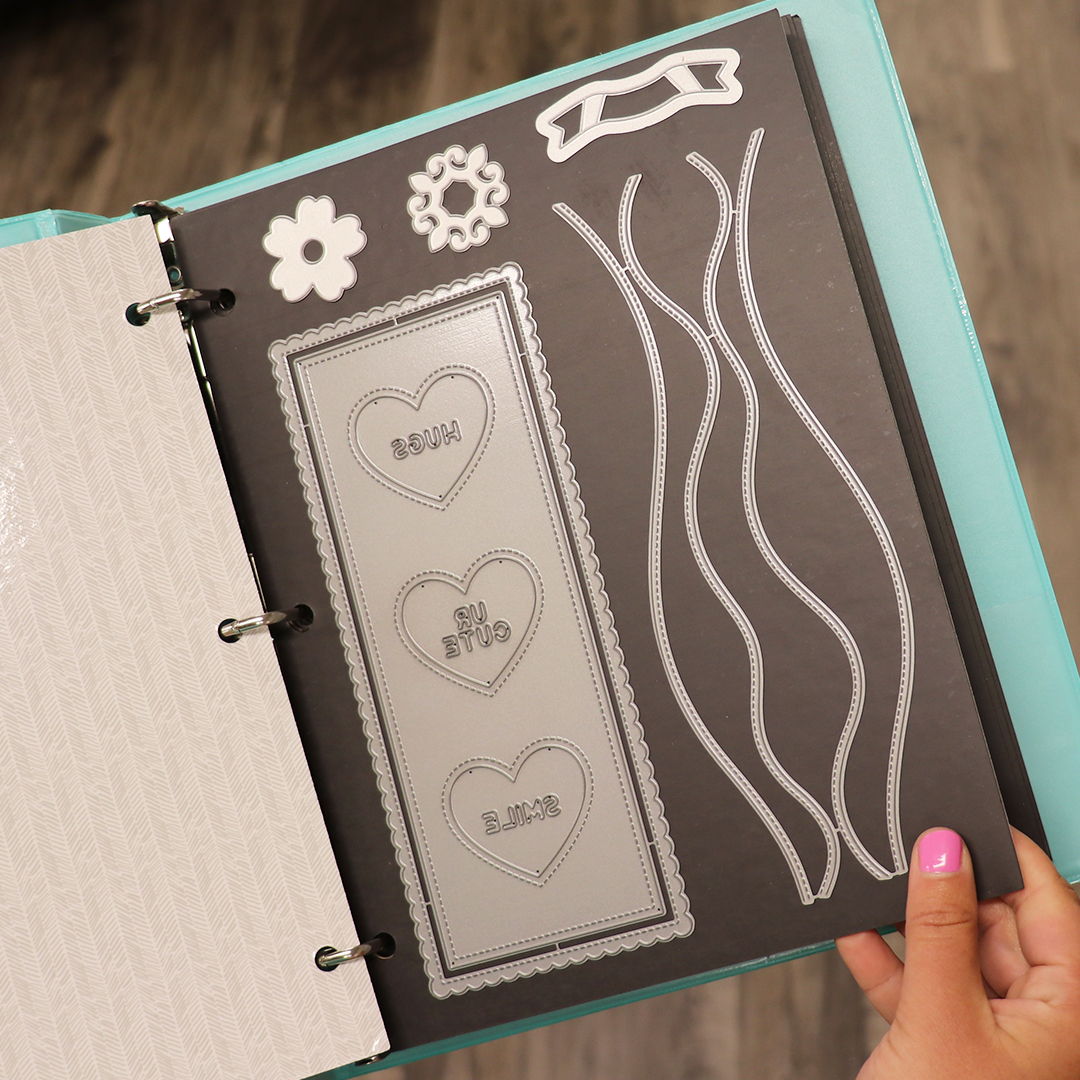
Step 1: Store your dies on the strong and sturdy 8.5x11 Magnet Card. Not only are these Magnet Cards made from a strong magnet material and sturdy poster board backing, but they are also hole-punched for placing in a 3-ring binder. The 8.5x11 Magnet Cards are an excellent option for organizing your larger slimline dies or your die sets that do not coordinate with a stamp set, like shapes and stackables.
Step 2: Add your Magnet Card to a binder for storage. You can personalize your binder by choosing a color that fits your space or adding some fun vinyl.
Here are a few of our favorite binders:
3. Stamp-n-Die Wall Box
Ideal for utilizing wall space for organizing stamps and dies together.
What you'll need:
- Stamp-n-Die Wall Box
- Magnet Sheets
- Wall Box Bracket (optional)
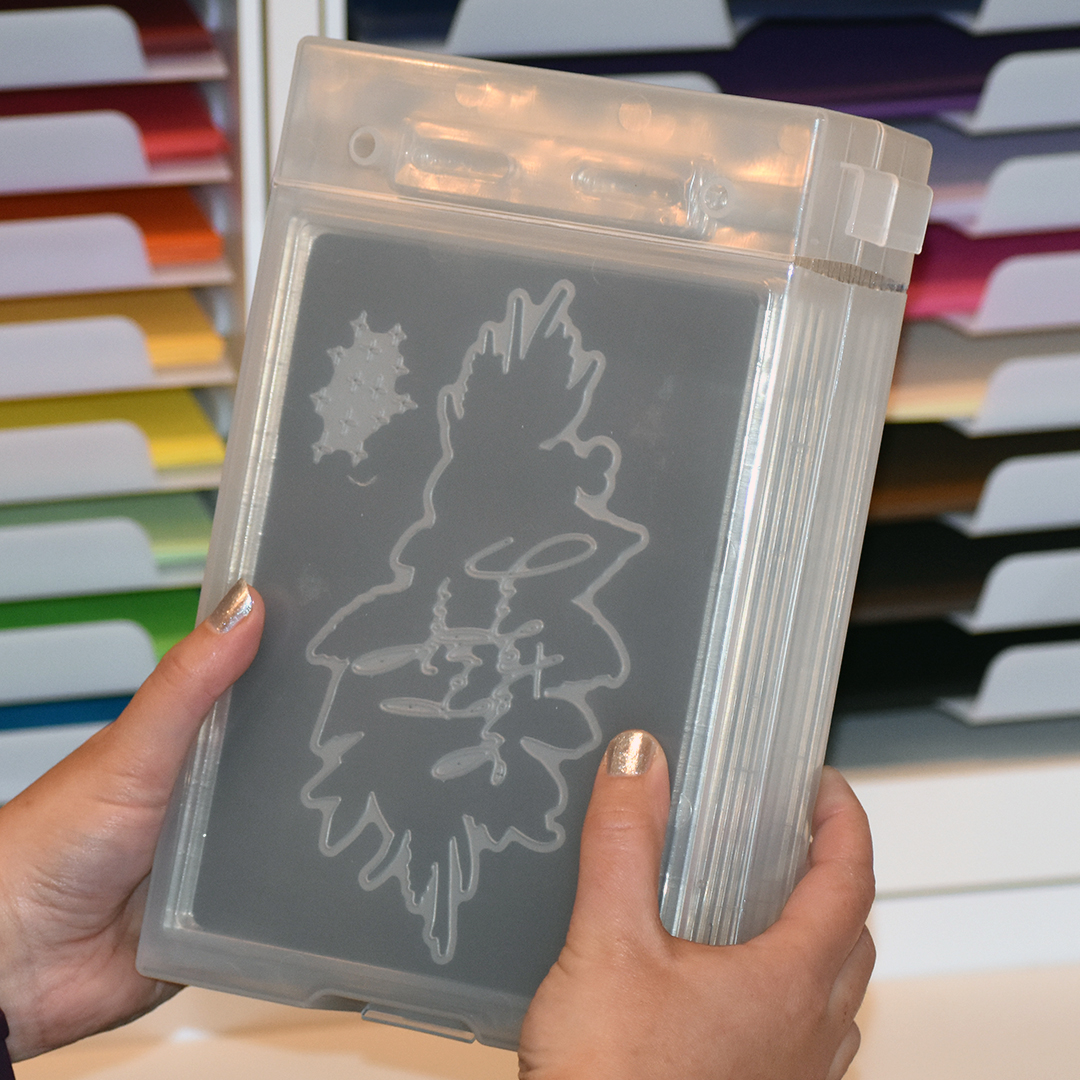
Step 1: Decide how you plan to organize your Stamp-n-Die Wall Box. If you plan to utilize its full potential by organizing your stamps and dies together, how will you sort the sets? Will you organize alphabetically, by manufacturer, theme, etc.? Once you have a plan, start placing your stamps and dies in your Stamp-n-Die Wall Box. You'll have 10 plastic sleeves per box. Organize your dies on the Magnet Sheets (sold as a bundle or separately), and then place them in a plastic sleeve. You can store just your dies in a sleeve or a stamp and die set in each sleeve. Stamps adhere directly to the plastic sleeve.
We recommend organizing your Stamp-n-Die Wall Box by theme or manufacturer.
Step 2: Mount your Wall Box Bracket to the wall and then add your Stamp-n-Die Wall Box. The Wall Box Bracket is optional. Your Stamp-n-Die Wall Box can also be stored on a shelf or in a drawer.
4. Stamp-n-Die Bundle
Ideal for organizing stamps and dies together.
What you'll need:
- Stamp-n-Die Bundle
- Storage Shelf, bin or drawer
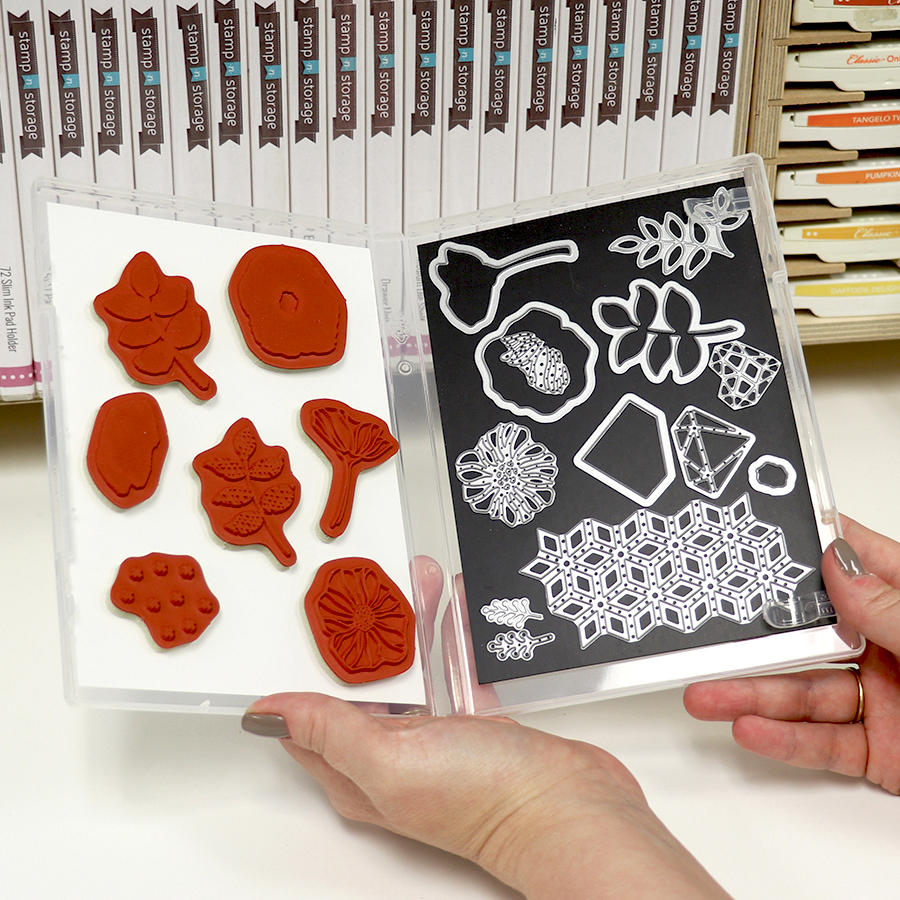
Step 1: Group your stamp and die sets together, and then place them in the Stamp-n-Die Bundle. Your stamps will adhere directly to the stamp case, and a 5x7 Magnet Card has been included with each case for your dies. Be sure to slide the Magnet Card into the inside clips to keep your Magnet Card from bouncing around in the case.
Step 2: Sort and label your Stamp-n-Die Bundle cases. You can add a label to the sides or stamp all of the images on a white piece of paper and slide that into the stamp case cover for labeling. Organize your cases on a shelf or in a bin or drawer by theme, manufacturer, alphabetical, etc.
5. Self-Adhesive Magnet Sheets
Ideal for medium to large die collections.
What You'll Need:
- Self-Adhesive Magnet Sheet
- Spot for adhering your Magnet Sheet
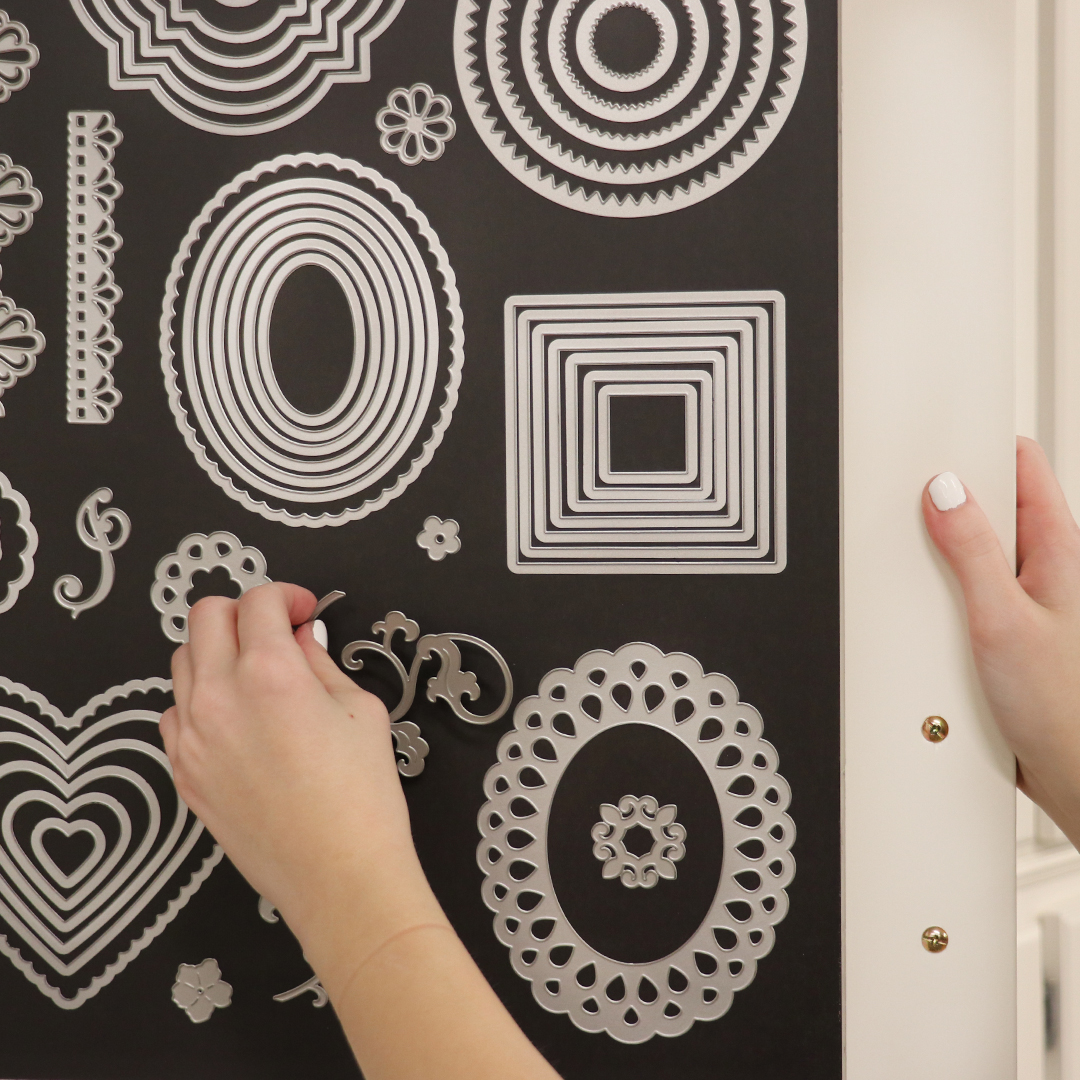
Step 1: Choose a location for your Self-Adhesive Magnet Sheet. Measure the area and choose the dimensions that best fit your space. We recommend adhering the Magnet Sheet to a door, cabinet, IKEA Kallax, or the Best Craft Organizer Storage Cabinet. We do not recommend adhering the Magnet Sheet directly to a wall.
Step 2: Lay your Magnet Sheet flat for 24 hours before installation. This process helps flatten the sheet making it easier to adhere to a surface. Be sure to clean the surface thoroughly before adhering your Magnet Sheet.
Step 3: Add your dies to your Self-Adhesive Magnet Sheet. Because your dies will be visible, you can organize by theme, type, manufacturer, and more. The Self-Adhesive Magnet Sheet allows you to quickly take a glance at all your dies in one place.
No matter what die storage solution you choose, the goal of organization is not only to keep your supplies neat and orderly, but it helps you always know what you have and makes cleaning up after a project quick and easy. Who doesn't love that benefit?!