
“If you always do what you’ve always done, you’ll always get what you’ve always got.”
- Henry Ford
You might think, "Why would a crafter need a workflow in their craft space? I'm not running a business; I do this for fun." The truth is, you don’t need to be running a business to benefit from a workflow.
A workflow is a system for managing repetitive tasks or processes, consisting of a sequence of steps that take you from start to finish. When you create a card, scrapbook layout, or project with repetitive steps, you are likely already following a basic workflow without realizing it.
Workflows can be used for most crafts that involve a repetitive task or process when being made. So, how do you actually set up a workflow? What if you have multiple crafts that you enjoy working on? Throughout this blog, we will break it down, step by step, so you can create a workflow that works in your space and for your craft.
Step 1: Identify Your supplies
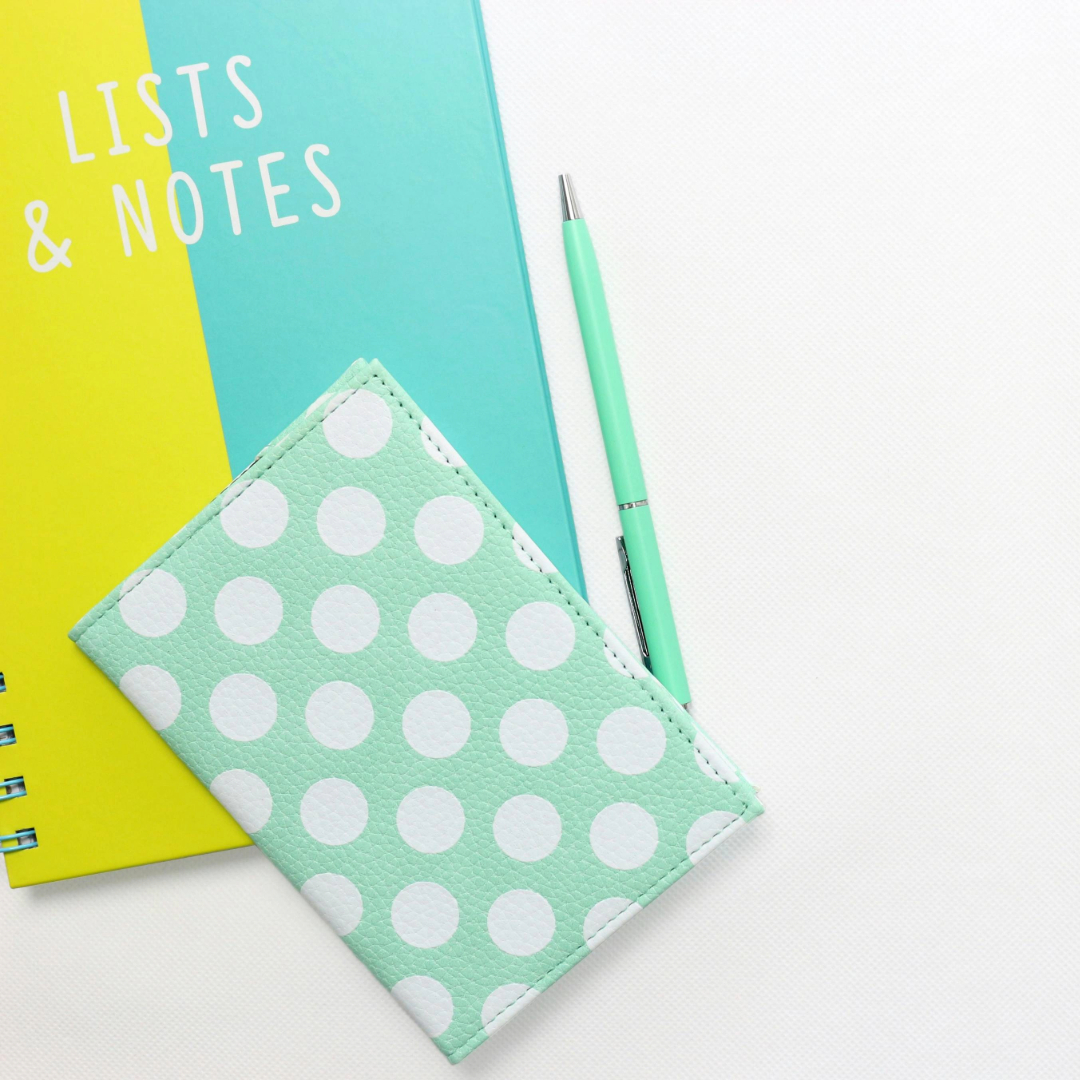
Take a look around your craft space; what do you have? Are you a Card maker with a space filled with paper, inks, stamps, dies, embellishments, adhesives, and other card-making supplies? Maybe you are a sewer with a room full of patterns, fabric, and thread.
Regardless of your craft, it is vital to have a rough idea of the inventory of your supplies. Take note of what you have a lot of and where you have it. Are you someone who enjoys multiple crafts? Do you own similar supplies used for those crafts? Once you know what supplies you own, you will be ready for the next step.
Step 2: Understand Your Process
Each craft follows a specific process that leads to creation. If you are creating a greeting card, you will likely go through the same steps each time.

Processes may vary slightly depending on the design selected, but the core steps remain the same: you gather your supplies, cut your paper, stamp your design, add embellishments, and write a message on the inside. Different crafts, such as watercolor, card making, or scrapbooking, can involve similar steps, like selecting paper and cutting to size. Similar crafts may involve using rulers, pencils, and a paper cutter. While the results vary, many of the processes are the same or very similar. The craft you enjoy may only have two steps, or it may have ten. Think through every step you take to create a finished project.
Step 3: Create Zones
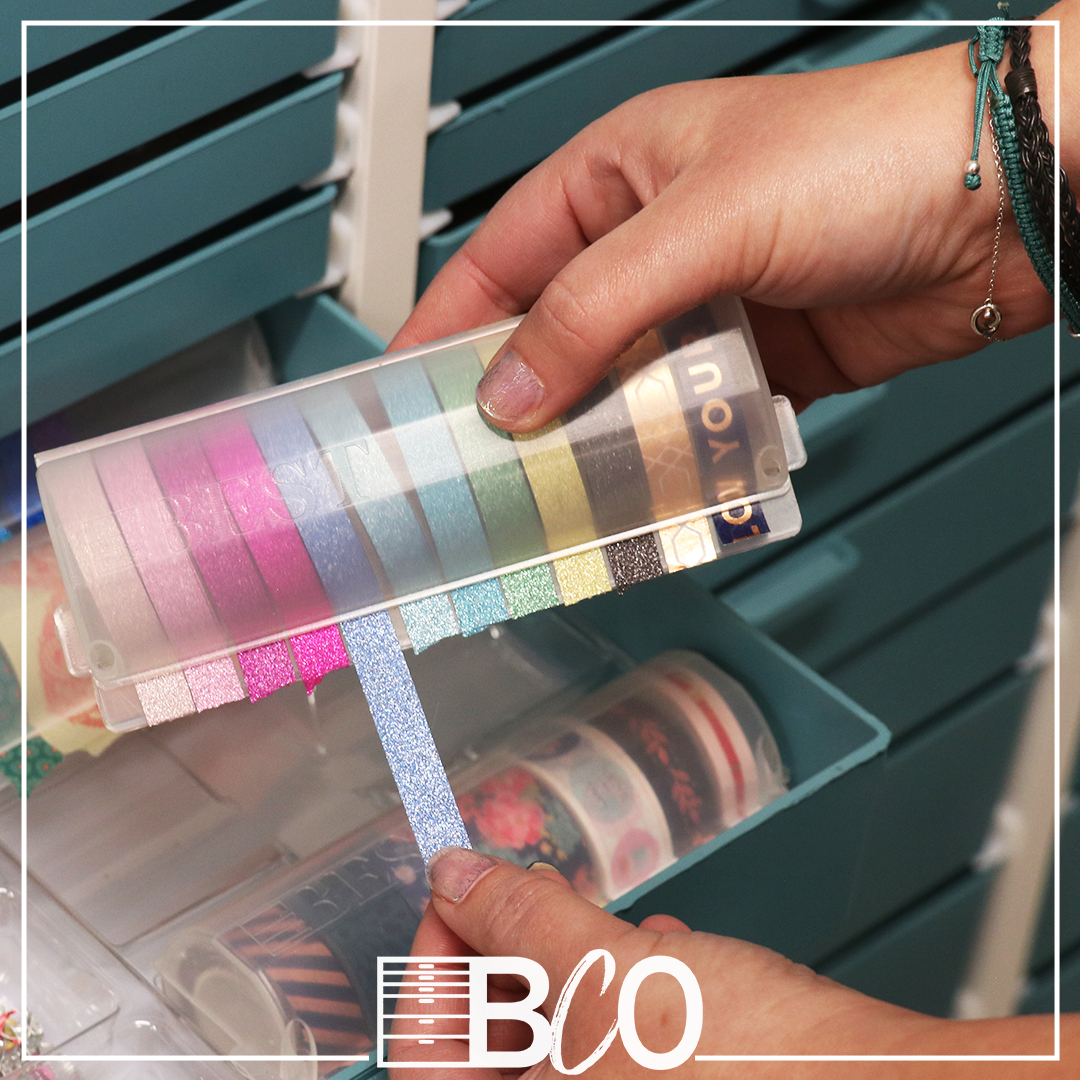
Now that you have identified your supplies and you understand your craft process, you can create zones. For example, watercolor, card making, and scrapbooking all have one thing in common - paper. With each of those crafts, you select your paper, trim it to size, and then create your design. In this case, creating a paper-cutting zone would be a helpful zone. Every time you need to cut paper, all you have to do is head to that zone.

Creating zones simplifies the process, streamlines creation, and allows less error (no more losing scissors). Maybe you do not enjoy a craft that involves cutting paper, but you can still apply this process to whatever craft you enjoy. If you enjoy sewing, you want a cutting zone for trimming your fabric to size. If you enjoy diamond painting, you may like a zone to keep your not-yet-started projects and a spot to keep your partially completed paintings. The process and zones do not have to be lengthy. It can be as simple as two zones. However, I encourage you to carefully think through each step to ensure you do not overlook something critical.
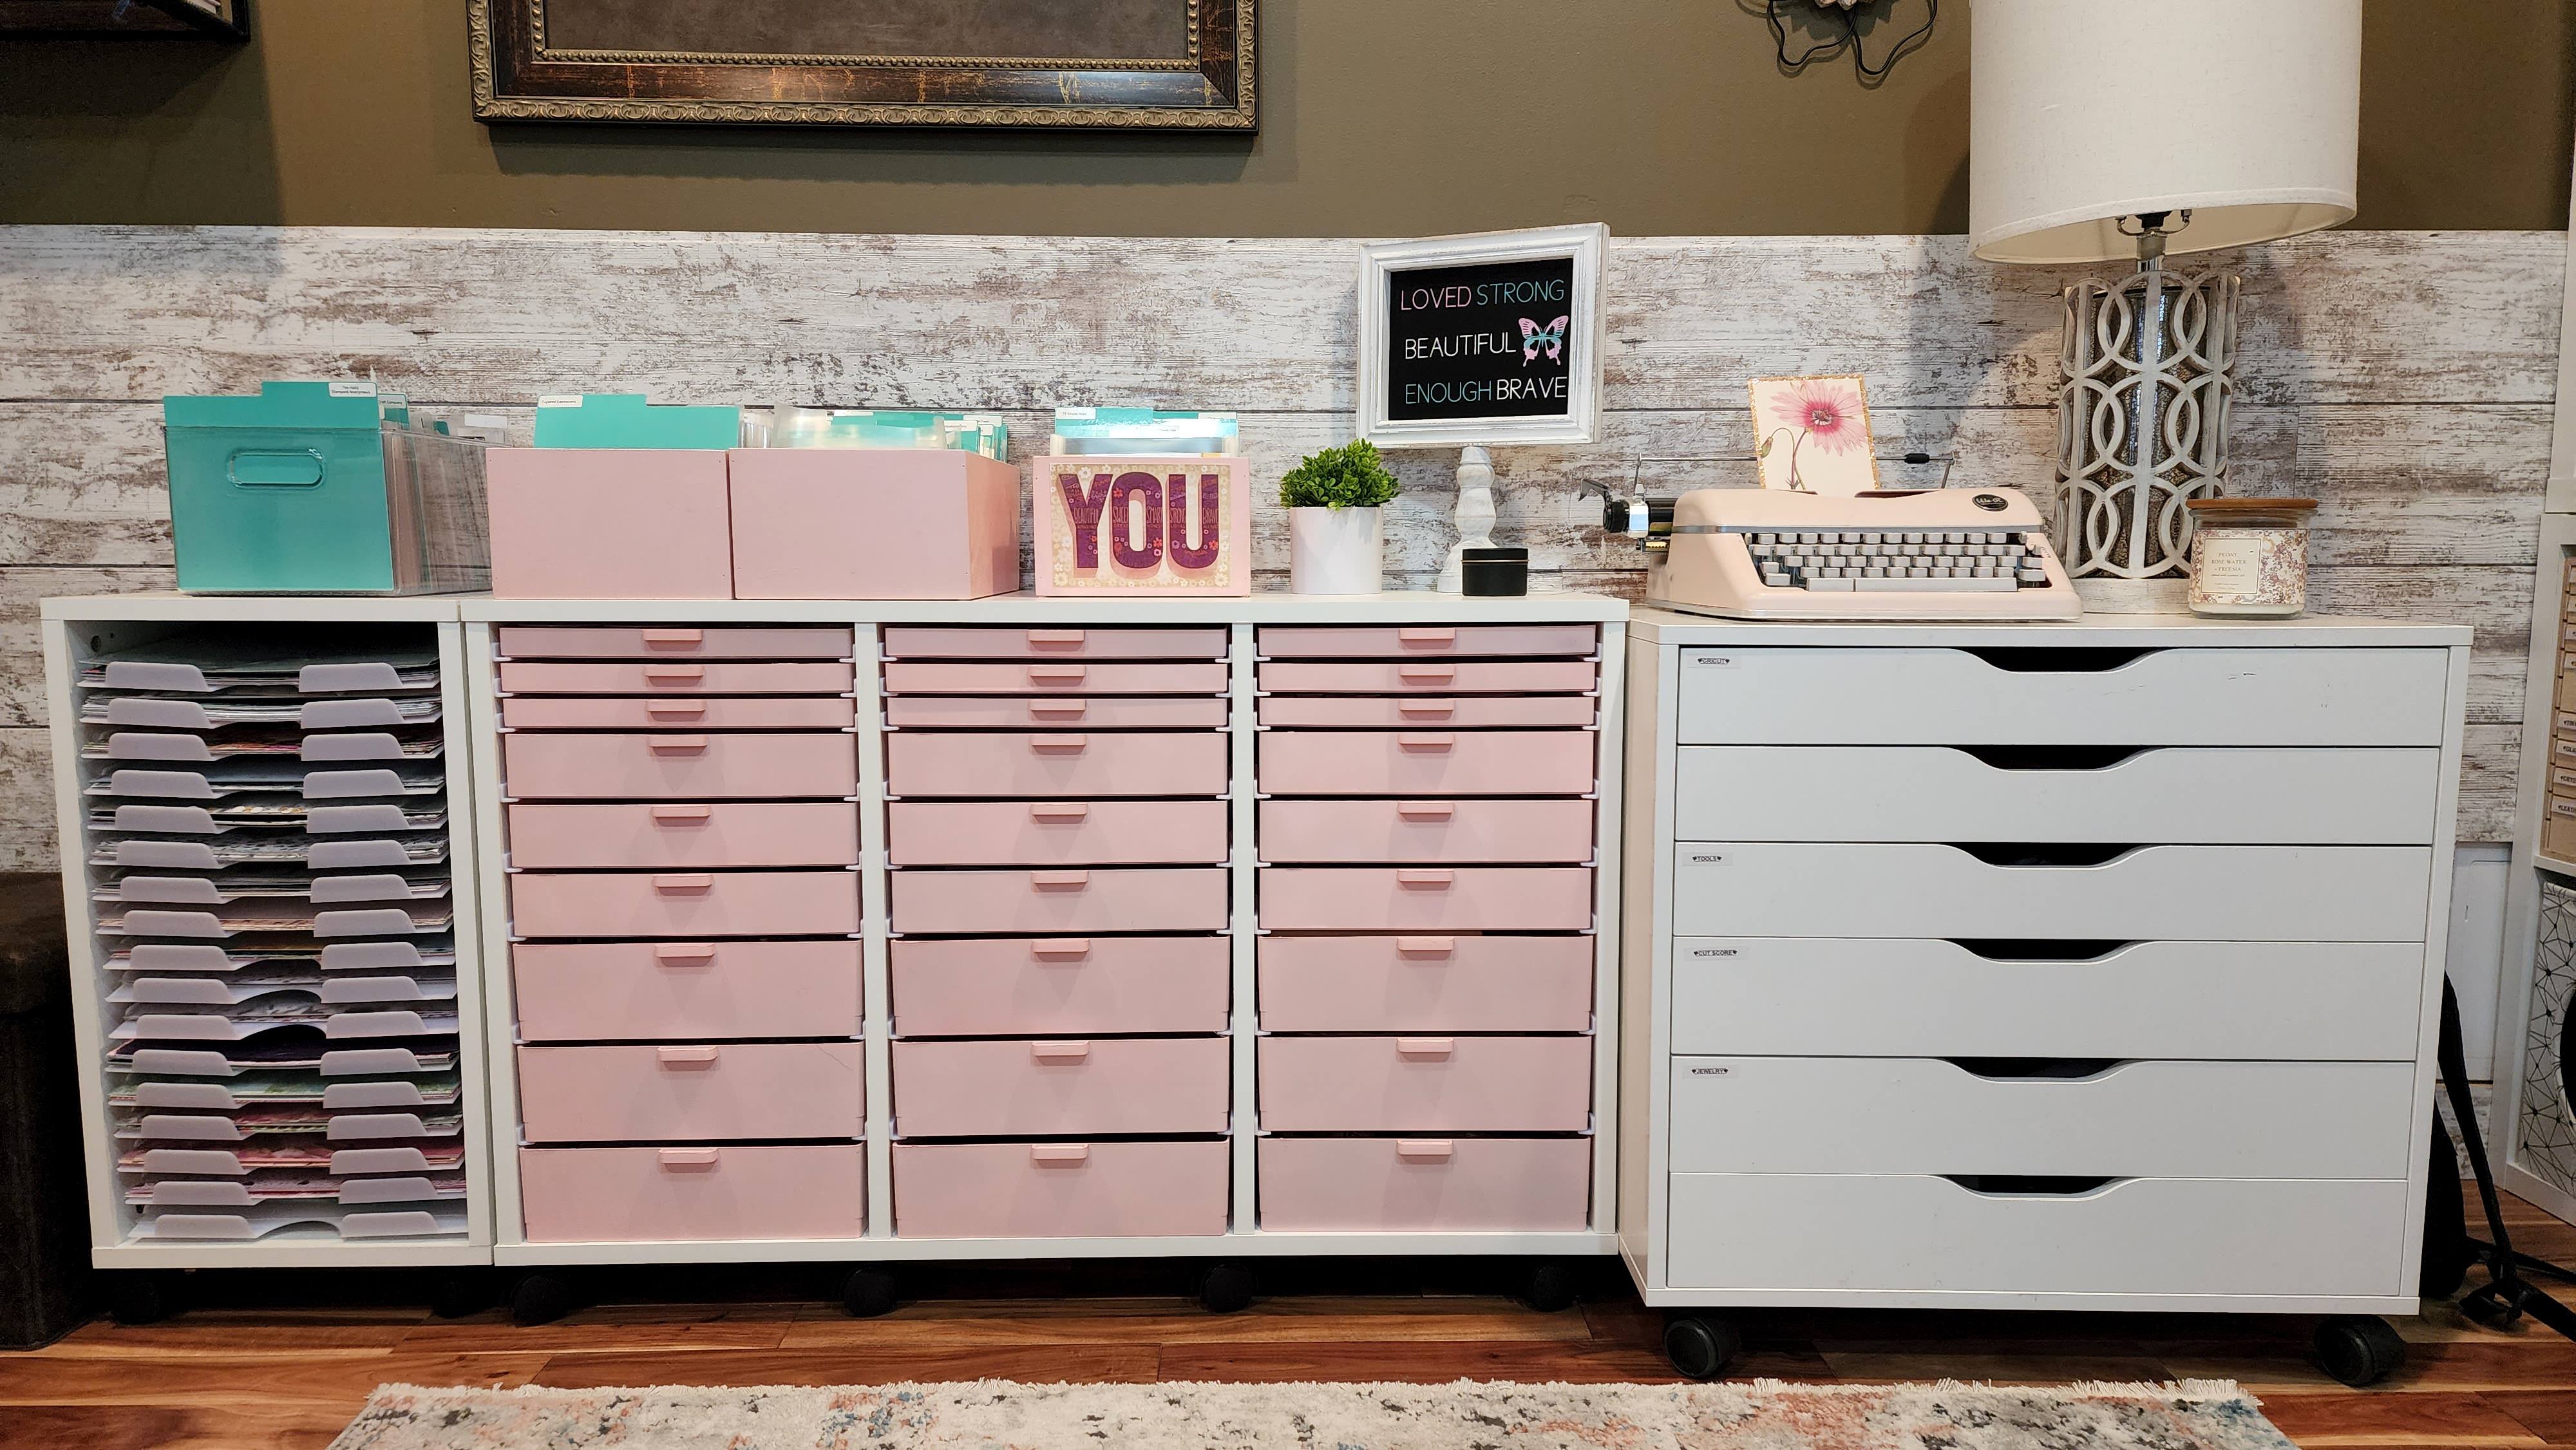
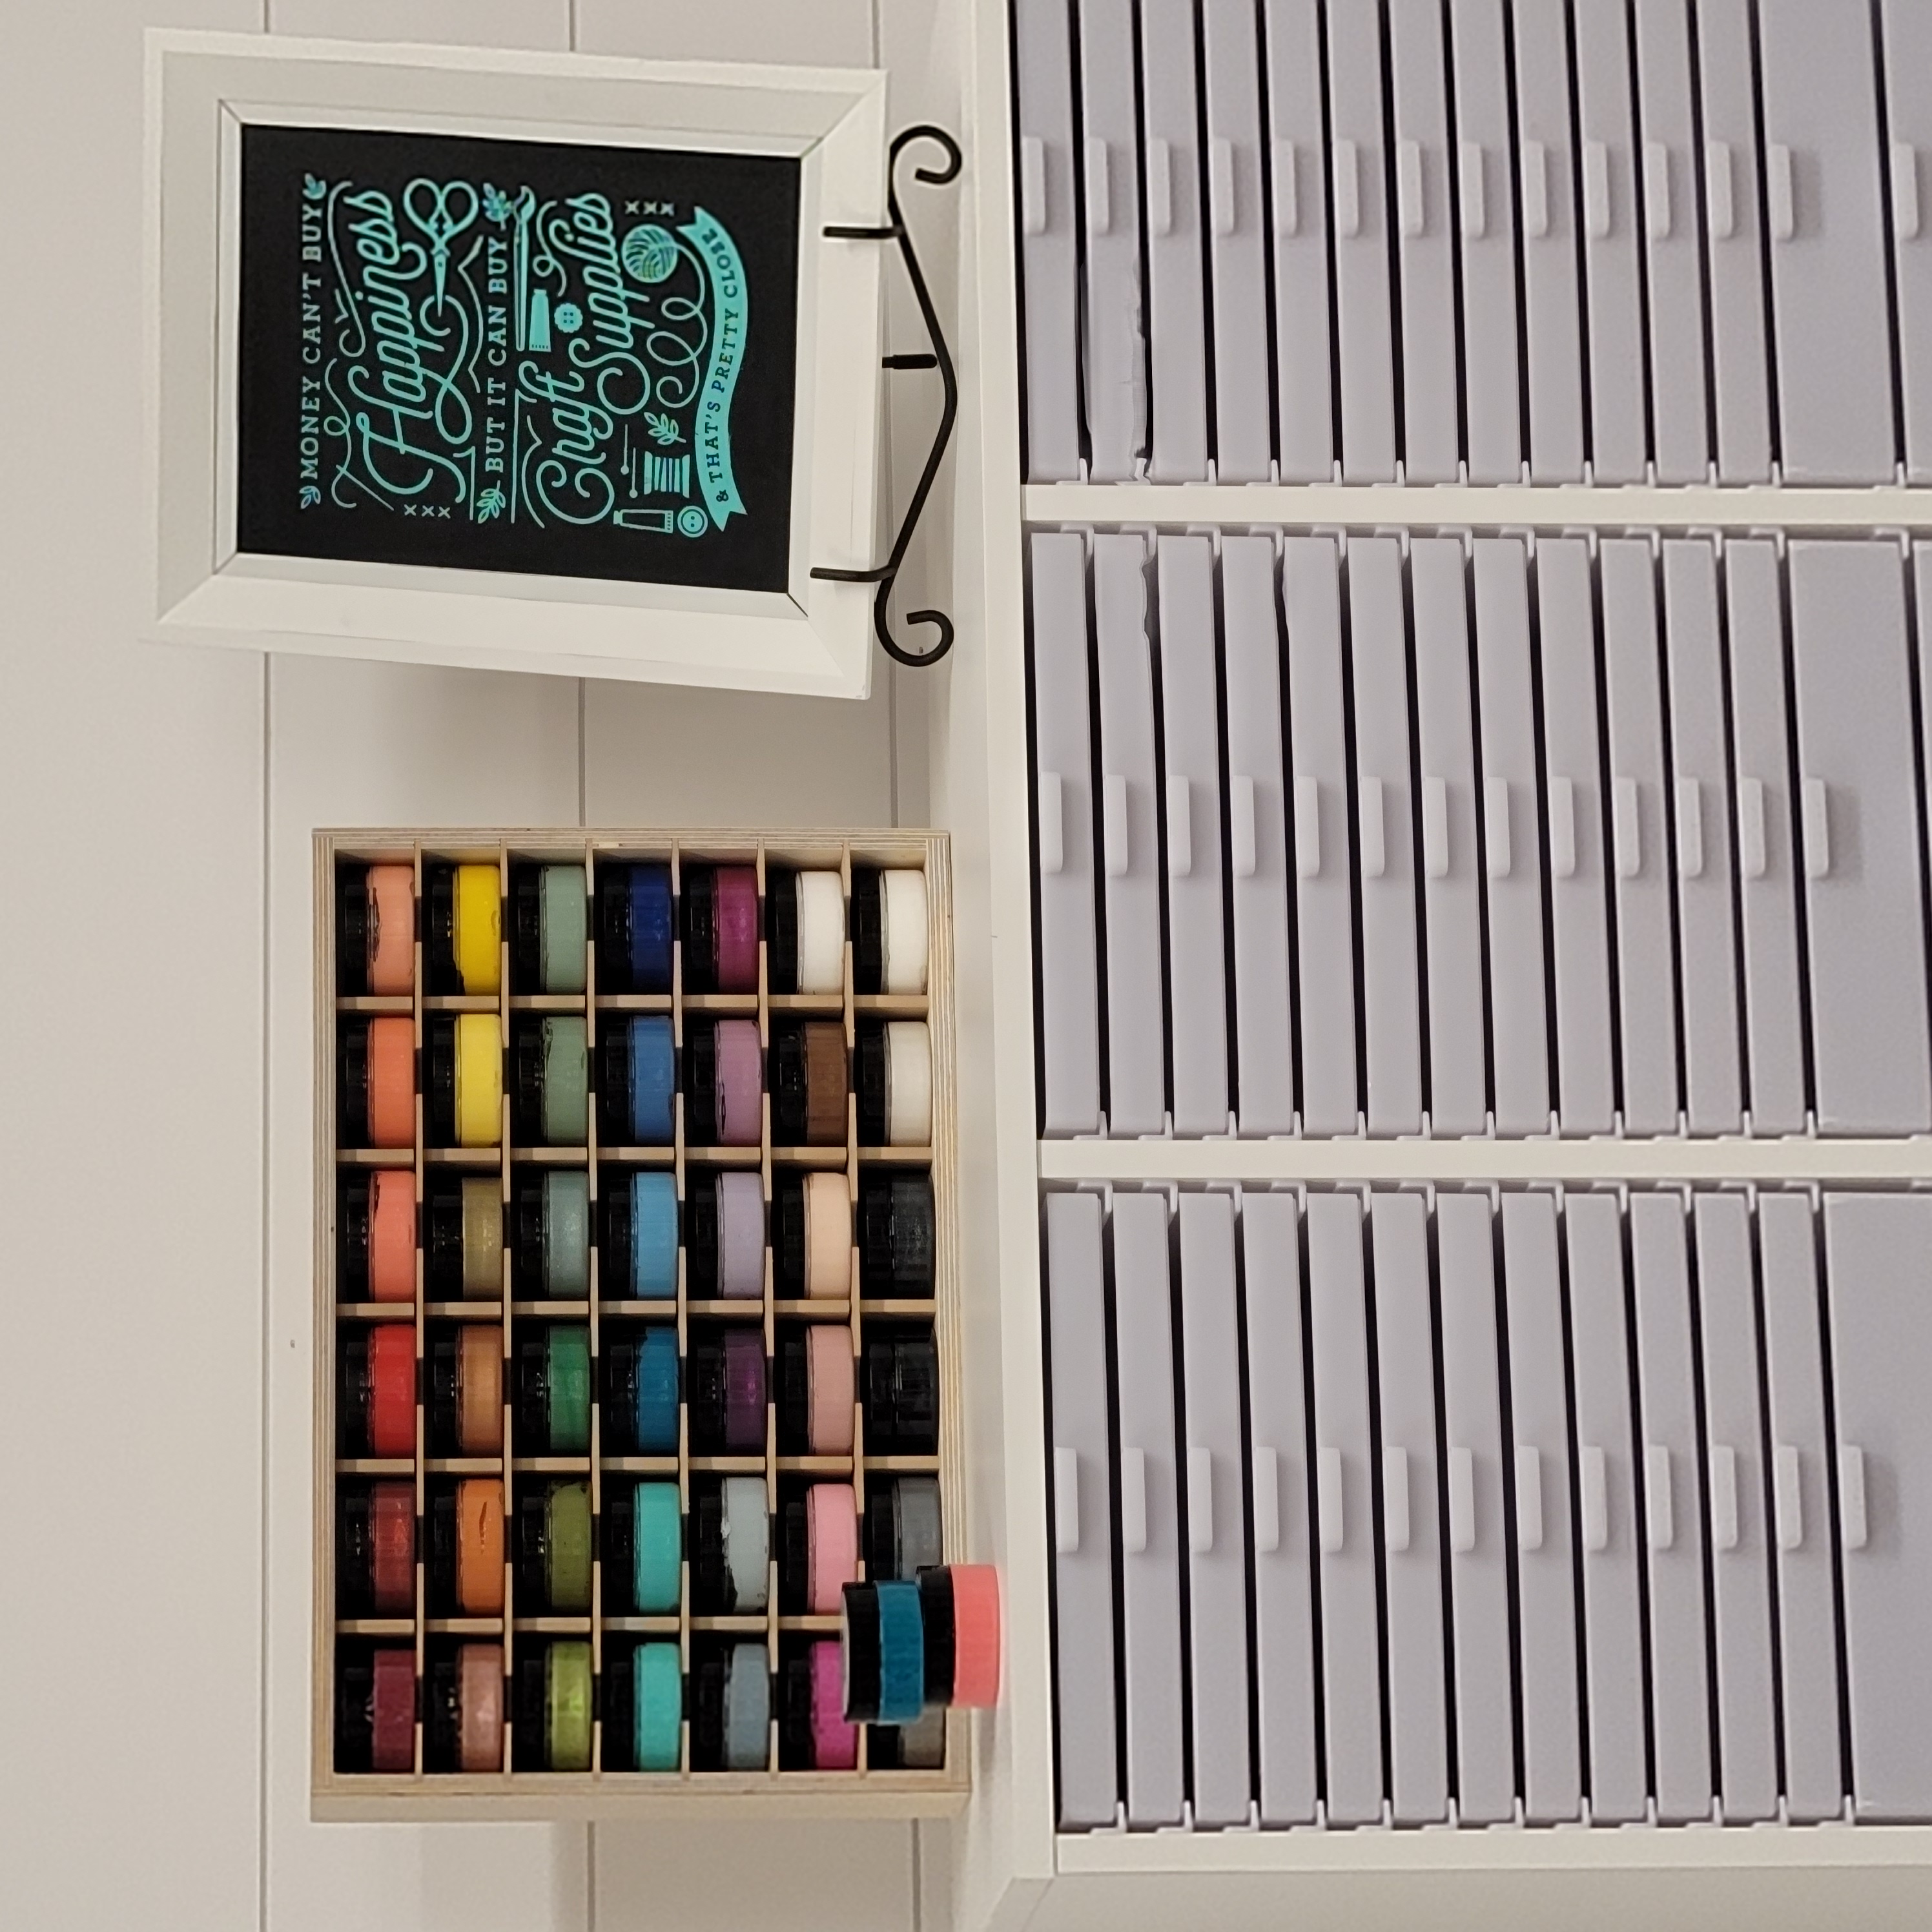
Step 4: Utilize Storage Solutions
Our final step is to utilize storage solutions. If you identify your supplies, understand your process, and create zones, but do not have an effective way of storing your supplies, it will be challenging to maintain that workflow. Utilize Storage Cabinets, Tool Trays, Acrylic Crates, wall storage, and grid systems. Implement these storage elements into your craft space to help maintain order in your workflow and to keep it sustainable.
You may want to simplify this, or maybe you want to add additional zones. Regardless, identifying your supplies, understanding your process, creating zones, and utilizing storage solutions will help you create a workflow that fits your style and craft.
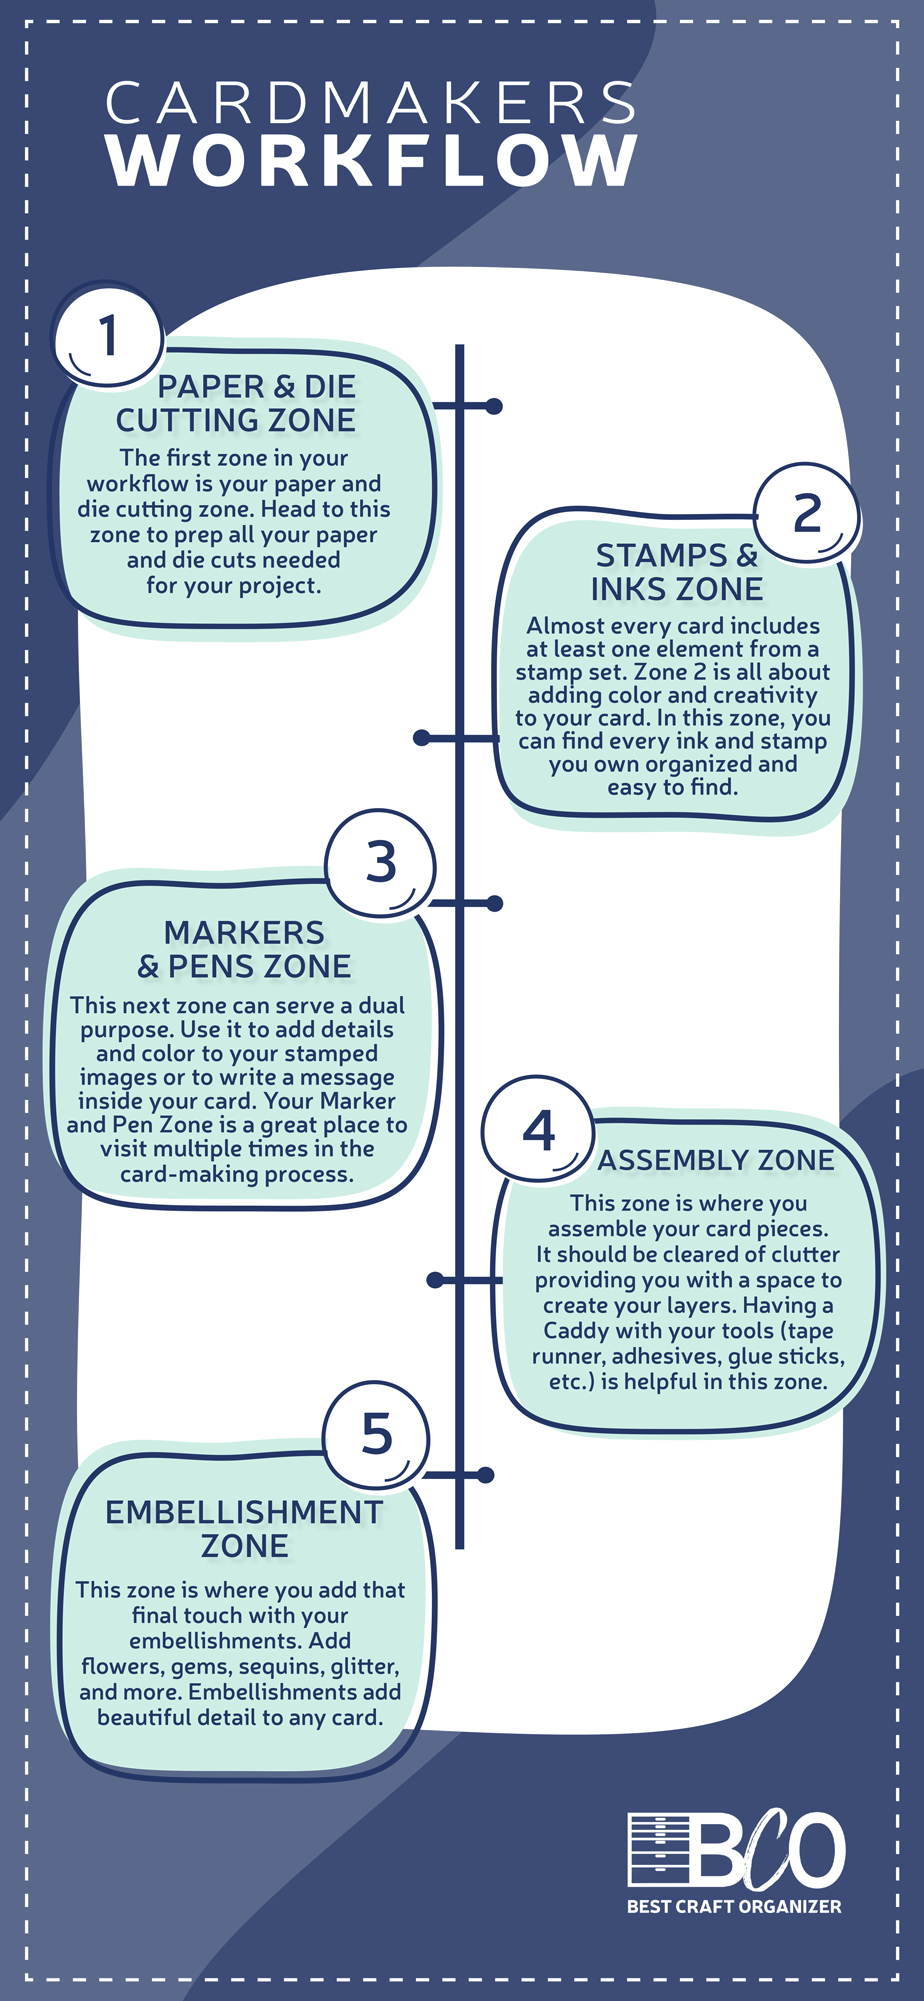
Your crafting workflow could look like this:
By creating a workflow before a craft, you have taken the hard work out of always needing to figure out what comes next and where it is.
Workflows keep you organized, boost your efficiency, and result in a beautiful product. What does your craft workflow look like?