Inside Michelle's Craft Studio
Step inside Michelle's beautifully organized studio — twice. First, the original tour through her drawers and storage solutions. Then, six months later, a tutorial on how she rebuilt her paper crafting setup using zones. Two videos, one creative space, all kinds of inspiration.
Two videos. Six months apart.
Michelle's space evolved as her crafting did. Watch the original tour to see how she organized everything down to the drawer — then jump ahead six months to see how she rebuilt the room into zones after picking up new crafts. Watch one, watch both, in any order.
Video 1 · The Original Tour
A walkthrough of Michelle's studio with a deep dive into how she organizes every drawer.
Video 2 · Paper Crafting Zones
A tutorial on breaking paper crafting into zones — paper, die cutting, embossing, assembly.
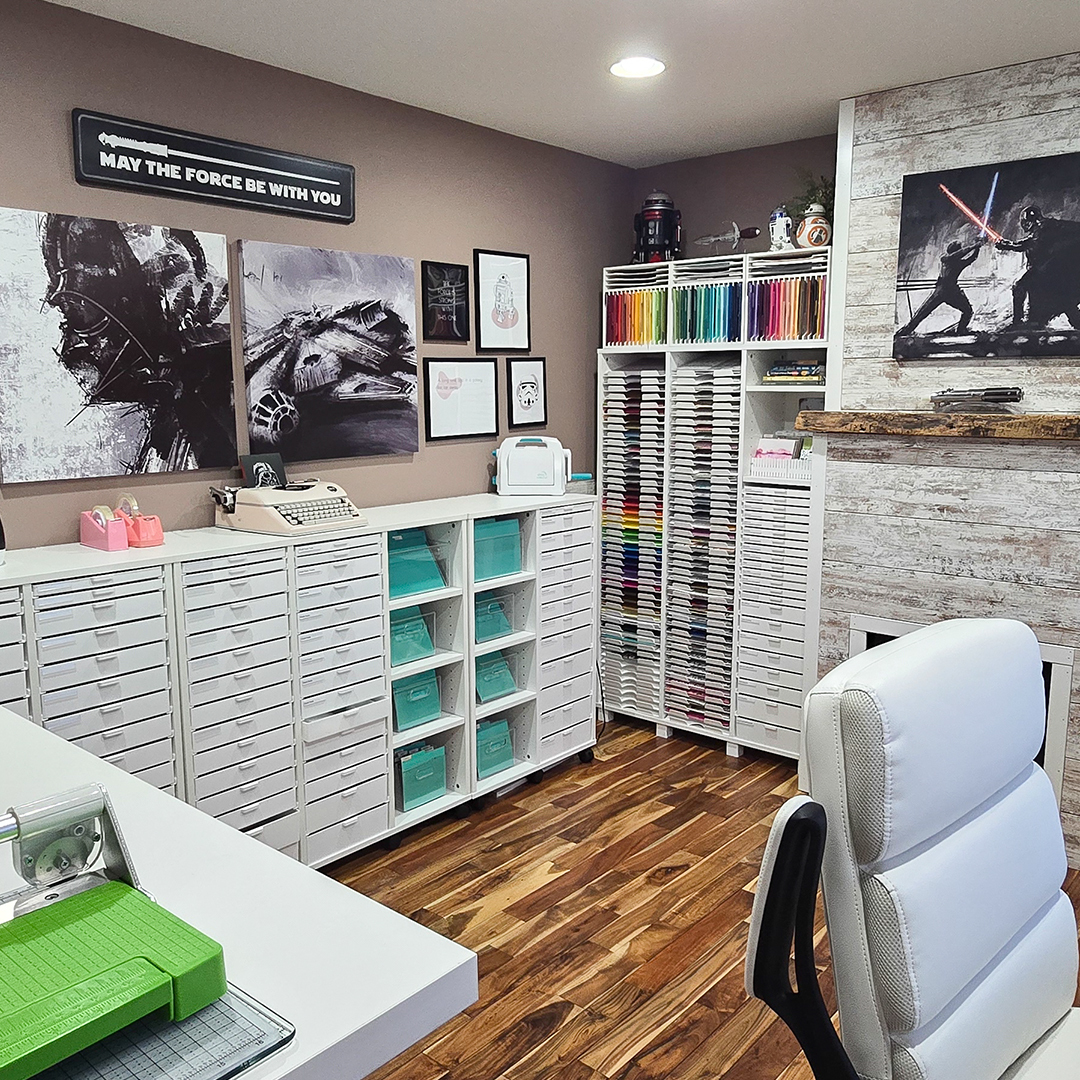
Inside Michelle's studio.
~ a tour of every drawer and shelf ~Step inside Michelle's craft room and discover how she created a beautifully organized studio using Best Craft Organizer furniture. You'll see her setup for paper crafting tools, her chalk paste collection, and her jewelry-making supplies — plus how she uses adjustable drawer heights and clever compartment systems to make every supply easy to find.
What's in this tour
- A full walkthrough of Michelle's craft studio
- Her paper crafting drawer setup
- How she stores her chalk paste collection
- Jewelry-making supplies, organized and visible
- Adjustable drawer heights and compartment systems
How Michelle's drawers stay organized
- Customizable drawers built around the supplies inside
- Compartment systems for small parts and tools
- Adjustable shelves to fit changing collections
- Everything visible, nothing buried in the back
- The Craft Island as the working hub of the room
Crafting should be joyful, not stressful — and that starts with knowing exactly where everything lives.
Organizing by paper crafting zones.
~ a tutorial for paper crafters ~Six months after the first tour, Michelle reorganized her paper crafting setup using zones — grouping supplies by the steps of how she actually makes a card. This second video is more tutorial than tour: a practical walkthrough you can follow to build paper crafting zones in your own space.
Why paper crafting zones work
A zone groups supplies by the step you're working on, not by what they are. Instead of hunting through every drawer mid-project, each part of the card-making process — from choosing paper to final assembly — has its own dedicated home. Less searching, more creating.
Paper Zone
Cardstock, patterned paper, and specialty sheets all in one easy-to-browse spot.
Die Cutting Zone
Dies, machine, and cutting plates grouped together so the workflow stays in motion.
Embossing Zone
Embossing folders, powders, and heat tools — everything ready when inspiration hits.
Assembly Zone
Adhesives, embellishments, and final-touch supplies right where the card comes together.
What you'll learn
- How to break paper crafting into clear, workable zones
- Where to keep supplies so each step flows into the next
- How to set up cabinets and drawers for each zone
- Tips for keeping zones tidy as your collection grows
Why zones beat categories
- Less searching mid-project — supplies stay near the step that needs them
- Cleanup happens naturally as you move from zone to zone
- Easier to spot what you actually use vs. what you've outgrown
- Your space scales with your crafting, not against it
Build a space like Michelle's

Storage Cabinets
Customizable cabinets with adjustable drawers — perfect for building zones around your supplies.
Shop Cabinets →
The Craft Island
Michelle's working hub — counter-height workspace with storage built right in.
Shop Craft Island →
Craft Desk
A dedicated workspace built for creating — clean lines, smart storage, ready to inspire.
Shop Craft Desk →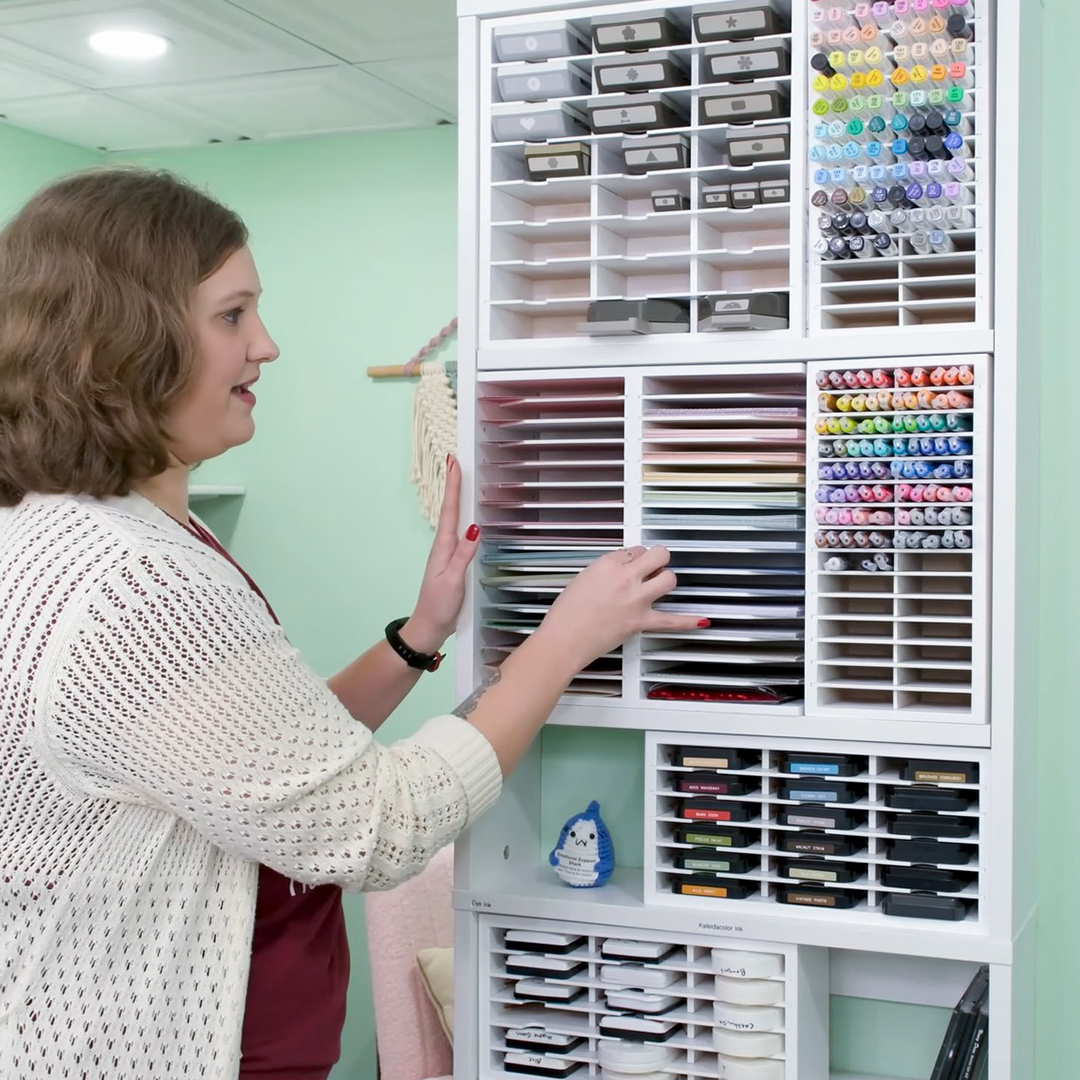
Shelves
Vertical storage that keeps your most-used supplies neatly organized and within reach.
Shop Shelves →